No Heater? No Electricity? No Warmth? Candle Heater, No Worries
If you enjoy experiencing Nature to the fullest, then an old-school trick that has stood the test of time is adjusting the heat in your tent with a humble, flickering candle.
It’s environmentally friendly, portable, and kind of romantic. So, how is it done?!
Heating your tent with a candle is typically done by handing it in a DIY holder or even a candle lantern so that the wee flame can add its ambiance and a slight heat contribution to the interior of your tent.
It definitely works if it’s well-insulated and you only want to heat your tent temperature a few degrees!
By popular demand, today we’ll treat you to a quick primer to heat your tent with a candle.
We’ll cover why it’s a good option, what you’ll need to do to make the most of it, potential risks, and more!
Let’s inspect the old-school trick to heat your tent with a candle!
Candle Lanterns Are a Good Option For Tweaking The Heat
Candle lanterns are a good option for tweaking the heat; we’ll tell you why.
First off, as far as being environmentally friendly, a small candle has a very tiny footprint.
You aren’t burning oil as you would with a standard camping lantern, and you’ll get plenty of light in a small environment, such as your tent.
It also has a bit of ambiance and style to it. Let’s face it. There’s a reason that candles are a staple in romantic dinners, bubble baths.
There’s just something about the flickering light, and you can hang over one candle lantern if you like, and it looks fantastic!
Now, about the heat – you need to keep in mind that this will be a minor change – so you want to set your expectations appropriately.
A candle flame in a DIY holder can raise the temperature by about 4 degrees Fahrenheit, though some commercial candle lanterns can produce 10 to possibly 15 degrees!
If you have a giant tent, those candles can add up, but since we’re talking about an open flame (even if it’s a small one), there are certain caveats.
We’ll go into those later in this article, but first, let’s talk about getting the most out of that beautiful little flame to heat your tent.
To Heat A Tent It Needs To Be Well-Insulated For This To Work
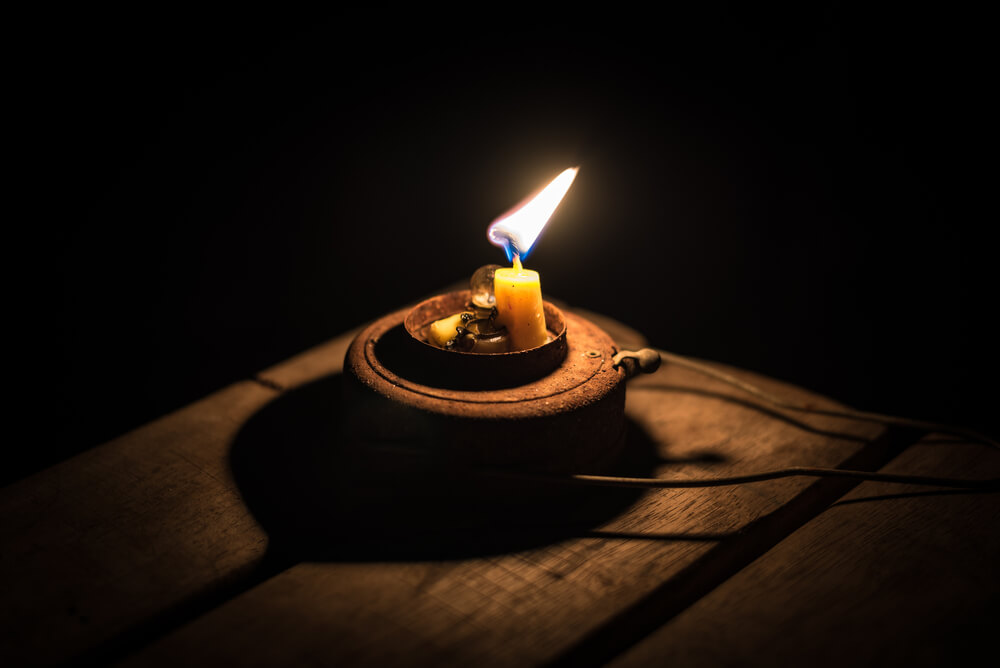
With a small heat source, such as a candle, you ensure your tent is as well-insulated as possible.
With some high-end tents, you’ll get thicker material, which can go a long way towards keeping in some of the heat.
Many tents will have loops sewn inside, or if the material is rugged and you are good at sewing, you can make more of them, which can also give you an advantage.
If you have or have made the means to hang them, blankets may be suspended inside in specific areas to maximize heat retention.
You’ll need to remember that you don’t want to cover any ventilation options when you do this, and you can’t hang any of the candles close to blankets.
Still, if you have a spacious family-sized tent, this little hack can make a difference with candle lantern heating.
Don’t Forget The Underside Of Your Tent
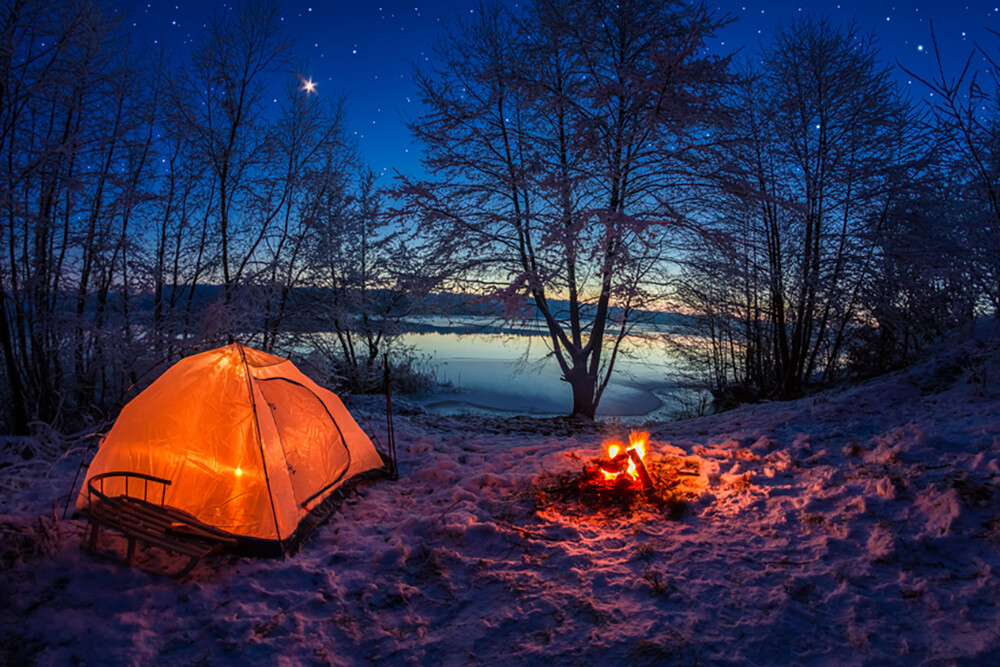
The floor is the biggest offender in the category of ‘things that steal your heat in a tent.’ If you are new to camping, this one can get you, but don’t feel too bad – most seasoned campers have their own stories about learning this important brief lesson.
So, what’s the best way to insulate the space between your tent and the ground?
Well, you’ve got a few options.
Some will waterproof an old, thick blanket with a little Scotchgard or a similar waterproofing product and then put it on the tent floor, which is a treat.
Ground mats are another option; in a pinch, you can even use towels, and the occasional desperate camper has improvised with clothing from their backpack during a surprise freeze!
However, the best way to do it is good old camping foam.
You can usually find rolls designed for sleeping bags; the stuff is waterproof and highly effective as insulation. It’s also durable, soft, and comfortable.
If you don’t mind a little cheating, you can hedge your bets with an inflatable mattress – but you’ll still need to cover the floor to get the most out of your candle heat.
Do Candle Lanterns, Carbon Monoxide, and Other Risks
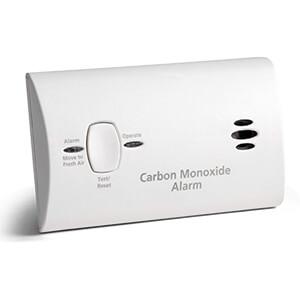
With Candle Lanterns, a little carbon monoxide is going to be produced.
After all, we’re talking about an open flame here, even if it’s not very large.
As such, it’s not going to produce very much, but you want to ensure ventilation inside the tent to minimize or even nullify the risk.
The more considerable risk will be the flame itself, so you must be careful where you hang your candle lanterns – especially in smaller and shorter tents.
In larger tents, you have a lot more room, and it’s less likely that the lantern will be knocked around, but this is a consideration in smaller ones.
The good news is that modern tents are more flame-retardant than many older ones.
Still, while your tent is unlikely to burst into flames, the concentrated heat of the candle also needs to be accounted for, as it could easily create a hole in the tent’s top and depending on where it’s hanging, that could be not nice.
Make sure that it’s far from the walls, and to avoid the ceiling integrity being compromised, hold your hand high above the Candle lantern and slowly lower it so that you can safely gauge where the heat builds up and hang the lantern accordingly to avoid this.
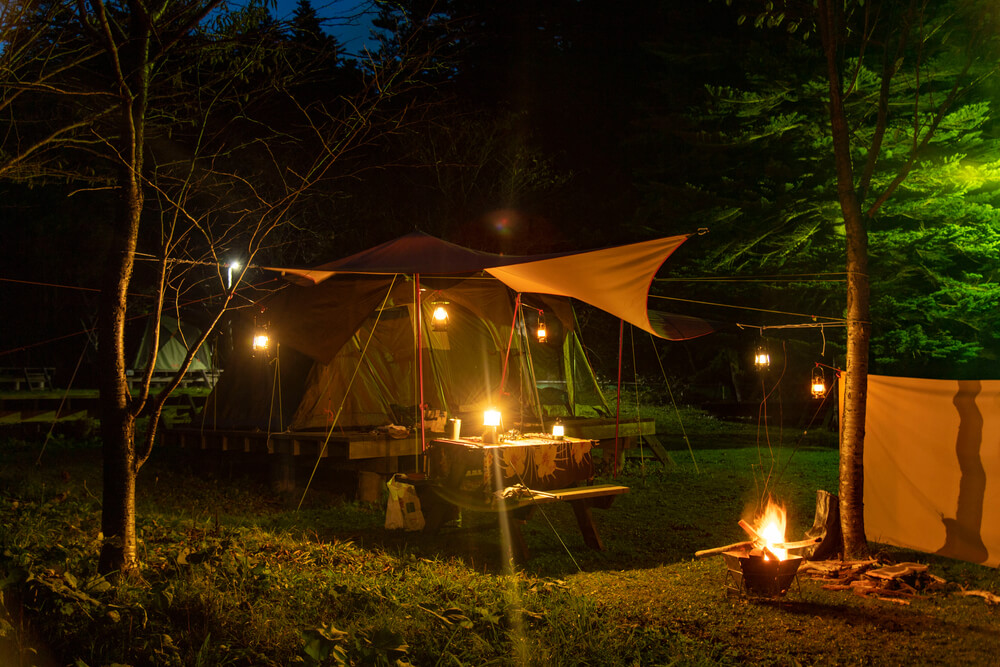
Candle Lantern Considerations and Tips
While we’ve touched on the basics for hanging a candle lantern, there are certainly some more considerations and tips that can help ensure that your experience with this camping hack is good.
Here are some considerations and tips to keep in mind:
- A folding table or another static surface is better than a hanging candle. The heavier the item, the better, so your chances of knocking it over are significantly reduced.
- Candle Lanterns should never be left unsupervised and are not recommended if you have very young children or pets – unless you can supervise 100% of the time and use a commercial candle lantern. Commercial models typically put the candle in glass, but a DIY with an open flame can instantly burn a curious child or pet!
- Be aware of any flammable items in the tent and ensure they are far away from your Candle Lantern.
- Put out your candle lanterns at the end of the night, and don’t move them until they’ve had time to cool down – this sounds redundant. Still, it’s a common mistake to move a candle lantern too soon accidentally and to melt or otherwise damage another item in the tent. Let it cool first!
- Consider commercial candle lanterns – they’re worth it. Some models can heat the tent to 15 degrees, though you’ll need to be patient as this can take up to an hour. Commercial models also tend to be aluminum-lined, and the housing design helps to make them much safer to use.
- Get a fire extinguisher if you don’t already have one. You probably won’t need it for your candle lantern, but as every seasoned camper knows, there are a million ways that ‘surprise fire’ can occur, and it happens at the worst possible time. A Fire extinguisher needs to be a part of your kit, candle lantern or not!
Best Candle Lanterns For Safely Heating Your Tent
Finding a quality commercial candle lantern is a piece of cake – you want to look for UCO.
UCO candle lanterns have a long history; the letters stand for ‘Utility, Comfort, and originality.’ The parent company is ‘Industrial Revolution, ‘ founded in Redmond, Virginia, in 1971.
They’ve provided their candle lanterns since their inception, so you’re getting the value of around 50 years of experience, and it shows.
Let’s look at 2 of their most popular models, and you’ll see what we mean!
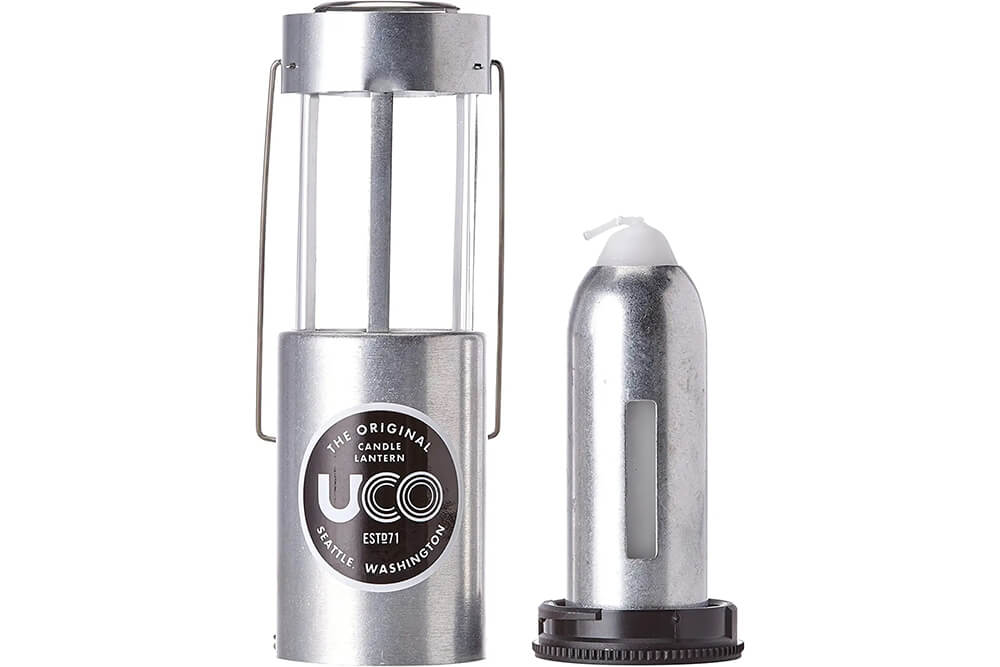
UCO Original Candle Lantern
Product Summary
The UCO original candle lantern is probably the most popular model, and for a good reason – it’s durable, compact, and has sleek aluminum construction.
The brushed finish makes it look like a thermos when you have it compacted, and the entire thing weighs a modest 6.4 ounces.
When you open it up, there’s a glass enclosure inside capable of holding a single candle, and it can produce up to 1500 BTUs of heat when needed.
Regarding its actual dimensions, this model measures, in inches, 6.06″ x 4.88″ x 2.72″.
Where the candle is placed, a handy globe design is there to catch the wax, and while you’ll have to clean this and the soot from time to time, it’s relatively easy to maintain.
You also get a free candle, and they’re pretty good, lasting an average of 9 hours each.
It takes a bit of time to cool, so you’ll want to keep this in mind when it’s time to extinguish the lantern and get a little ‘shut-eye.’
Until then, aside from the heat, the light is pretty fantastic.
That is thanks to a design incorporating a parabolic light cone that works with a Pac-flat reflector to help spread a little ‘artificial sunshine around your tent.
It’s an excellent product and a worthy addition to your gear if you are so inclined!
UCO Candlelier Candle Lantern
Dimensions
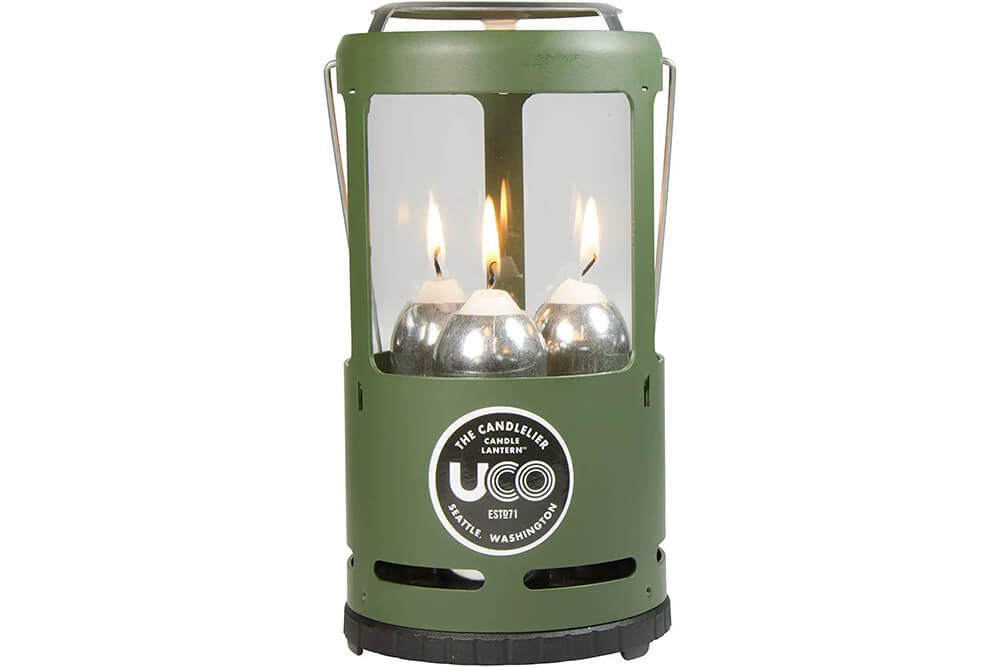
While the original model is a big hit, there’s some competition in the form of the UCO Candelier candle lantern.
This model comes in green or black and gives you more light and heat, thanks to an increased candle capacity.
This model is designed for not 1 but 3 candles for superior lighting and 5000 BTUs of heat.
Like the original model, it can be collapsed and has a glass interior that you’ll see when it’s fully extended.
The dimensions for this upgraded model are also a bit of a treat. It’s 8 inches tall and about 4 inches wide when fully opened, but squishes down to 4.25 inches tall when you’ve locked it down.
Did we mention it weighs 18 ounces and produces 9 lumens’ worth of light?
This is nice and all, but you also get something extra beyond all that improved light and heat – you can do a little cooking, too!
The plate is about the same size as a coffee mug but can boil a small amount of water by ‘candle power’ within 5 to 6 minutes.
That doesn’t sound like a lot, but when it’s cold and rainy outside, a little fresh coffee or hot cocoa is a morale booster that will help warm you up a bit while the candles do their work.
Like the original model, it’s durable, featuring an aluminum and stainless steel construction.
Some Closing Comments On Candle Lanterns
Today we’ve talked about how to heat a tent with a candle, and if you like the idea, we wholeheartedly recommend trying it.
Not only is it environmentally friendly, but candles also give your camping experience a little ambiance and old-world flavor that’s really like nothing else.
Just hang it carefully or place it on something sturdy, in a ventilated and well-insulated spot in your tent, and put it out when it’s time to sleep – letting it cool first if you intend to move it.
As long as you treat it with the respect and care that fire deserves, it’s quite the valuable gear to have, and we think that you’ll find the candle lantern experience is one that you’ll be repeating happily for many years to come!

