The weather will never be perfect each time you’re tasked with creating a campfire. From personal experience, there has always been some time of moisture, dew, or downpour of rain that can determine the difficulty of my campfire building.
If you have ever tried to start a fire in the rain, you know how difficult it can be, with most people opting to stay in their tents and wait out the rain if they could not get a campfire going. So why is it so difficult?
It could be the fact that everything you need to start a fire is wet, including leaves, twigs, logs, or even firestarters like newspapers. This article will list the steps you can take to start a fire with wet wood in a drizzle.
Start collecting your wood sources, twigs, and branches.
The first and most critical step is finding your fuel source; if you are out in the backcountry, you’re going to have plenty of options. Don’t worry if everything looks too wet even to bother collecting; look for branches and twigs that have broken off or even a dead tree ‘en route’, a tree that has died standing up. These trees are excellent sources of dried wood.
To decide whether the twig or branch is suitable, you can do the crack test; for arm, length branches, try to break them in half to about a foot long. Listen for the loud crack; if it makes that noise, you know you have a nice dry piece of firewood to use.
You want to place anything you collect into a large, durable garbage bag. The garbage bag will keep any rain off your prized dried firewood. Once you have a sufficient amount of dried kindling, you can start looking for logs that will sustain the fire for up to 6 hours.
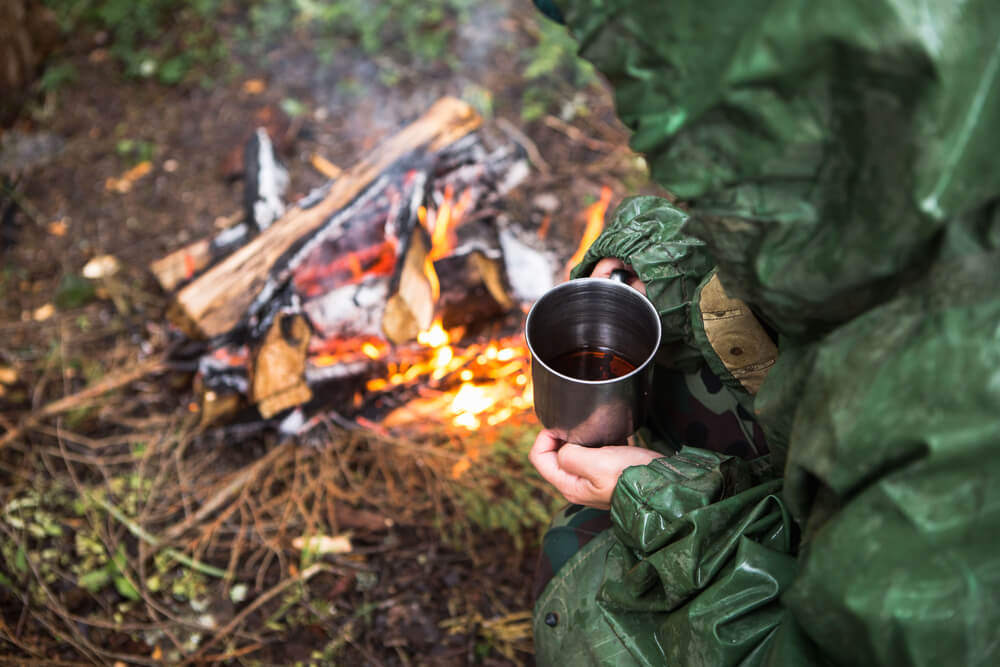
The one-inch rule
Remember the one-inch rule, every one inch in diameter, the firewood thickness will equate to 1 hour of burn time, so a log 6 inches in diameter should effectively burn for 6 hours. Another tip is to ensure that the logs have not been in situ or lying on the ground for an extended period.
It’s okay to use branches and twigs that have been on the ground as they typically have not been there for a long time and have fallen and died from their tree. However, logs can lie on the floor for months, soaking up moisture.
Sorting out your collection of wet firewood
Now that you have your mildly damp firewood back at the base, you want to sort out these from smallest in diameter to largest. Your fire starters, such as twigs and thin branches, are going to be an essential ingredient to starting your fire, as they will be the easiest to dry out.
Next, sort out your larger branches, the roughly thumb-sized in thickness. These branches are perfect for your platform and the next size of fuel once the kindling has burned through. Then finally, your logs, which are going to be the last wood sources you will stack on.
You’re going to have to do a lot of maintenance to get some nice hot coals going first, so you may not be adding the logs for quite some time.
Build a pallet with medium-thick branches
Some call this step building a platform or pallet. All this step requires you to lay side by side at least 10 of the thumb-size thick branches. This will be your base that will keep the burning kindling off the wet earth. The platform will eventually burn through, creating a nice bed of coals.
Creating a protective wall of branches or rocks
The next step is to build a ‘V-shaped’ wall on top of the platform with the ‘V’ pointing towards the direction of the wind. You can use two bundles of branches, one on each side, to complete the wall. If you are low on firewood, you can also use large rocks as wind protection. However, using branches as the wall of wind protection is preferred as you can dry them out while protecting the firestarters.
The next step is to balance a bundle of sticks on top of the ‘V-shaped’ wall, almost like a roof. This also protects the firestarters you will use in the next step while benefiting from the heat and drying out even more.
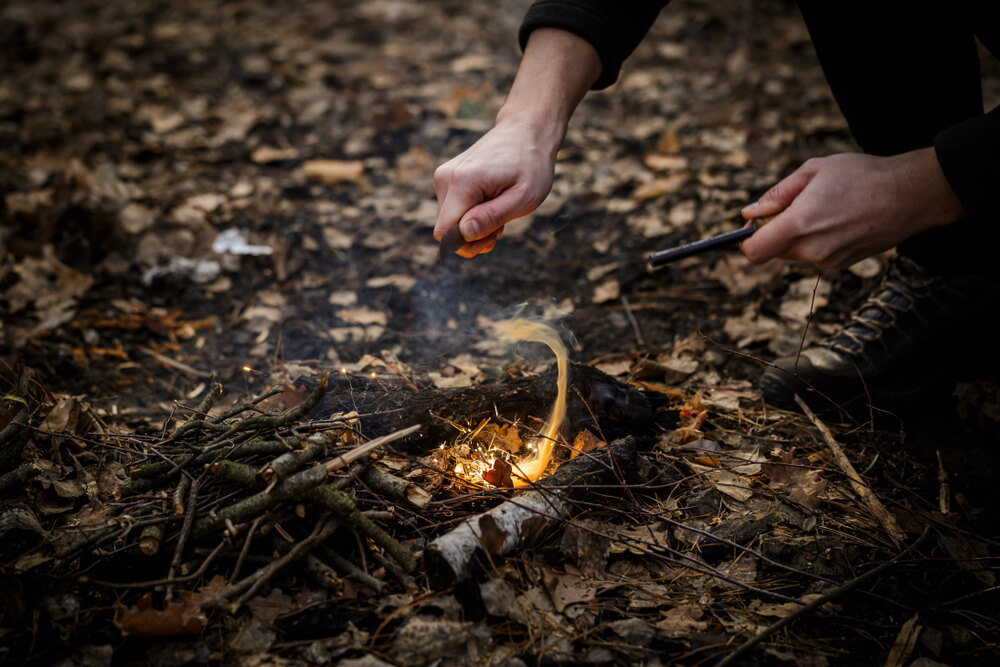
Place the kindling inside the wind and weatherproof walls.
Now it’s time to get the fire started. First, place your driest kindling in the crevice of the protective walls you have constructed. The kindling should also be placed just under the stack of branches you have balanced on top of the wall. If you have built this structure correctly, it will provide enough rain protection and allow for enough airflow for the kindling to breathe.
Tip, if you cannot spare kindling a trick, is to use some rolled-up pieces of duct tape. Yes, duct tape, if you can put up with a slight chemical smell for a few minutes. Duct tape is a great survival hack for creating firestarters. What you will need is a roll of duct tape. Now pull a length of tape about a foot and a half long and then roll this length of tape into a cigar shape. Next, roll about 3-4 lengths of tape into cigars, and now you can light the ends of the tape and place each one carefully into your protective branch ‘V-shaped’ structure.
Seasoning phase and drying out the damp sticks
Now put down the spices. When we talk about seasoning firewood it’s just a term for the process of drying out firewood. Remember the stack of wood that you balanced on top of the ‘V-shaped’ wall. The stack acting as the roof that keeps the kindling dry and alight? Well, now that the kindling has been burning for a few minutes, it should have dried out a bit more now, it’s time to roll this roof stack onto the kindling slowly. Do this step carefully; the last thing you want to do is move too much of this roof stack and snuff out your kindling.
Adding the rest of your firewood sources onto your stack
Once you have your first batch of firewood twigs nice and hot, you can now start stacking more twigs and thin branches carefully. But, again, make sure not to snuff out the current bunch of alight firewood by considering airflow and weight.
You’re going to then add, at your discretion, a few larger and thicker branches, but not any logs right now. Also, any twigs and branches that have fallen around the diameter of the fire will be dried out, so clean those up and add them straight back into the fireplace.
This stage will be the nurturing phase; you want to keep up this stage of maintenance for quite a while until you get a nice bed of hot coals. But once you have a nice glowing layer of coals, you know you’re almost set for the logs.
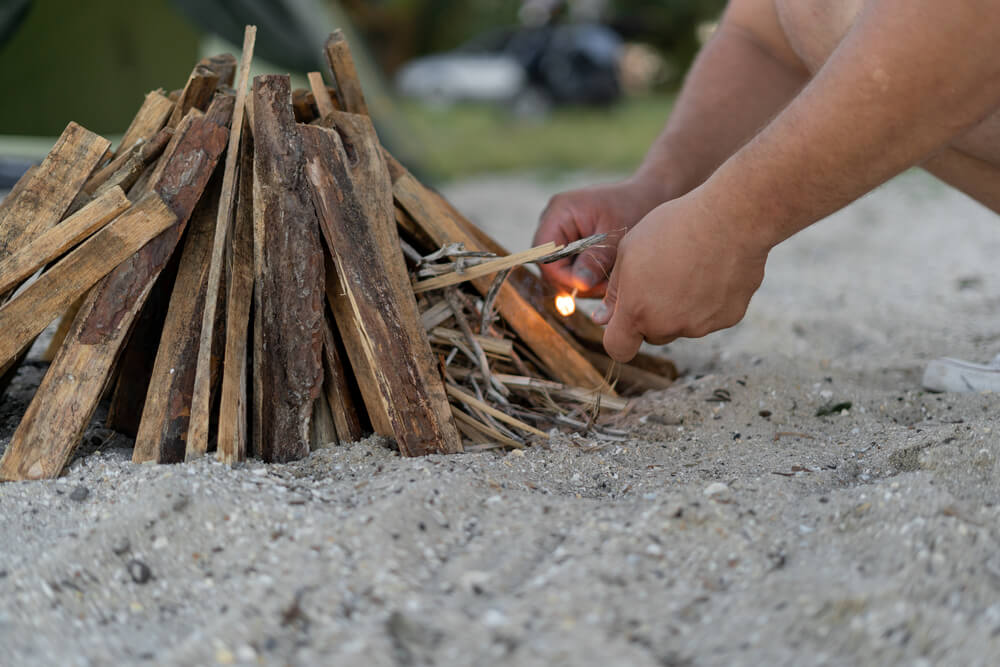
Logging off
Having a good coal base is perfect protection from wet weather. Even if there is a slight drizzle of rain that might put out the fire, it’s going to have a tough time putting out the coals. But once you have some nice hot coals going, add one log at a time. Again, take the thickness of your logs and start from the thinnest log to the thickest.
I hope these steps have helped answer ‘How To Start A Fire With Wet Wood.’ I have used this method frequently and can attest to its success, and I know you will too.

